Ottoman slipcover
 |
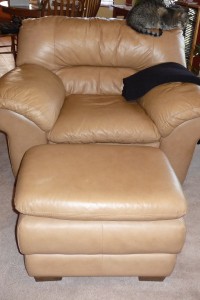
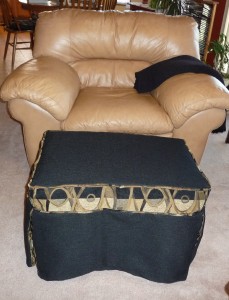
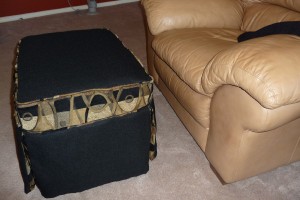
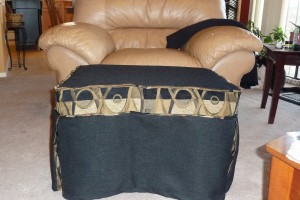
I had been wanting to make a slipcover for our ottoman for a while. It’s still a nice ottoman, but it’s leather and we want to keep it protected. It didn’t take long for that one piece of the leather set to start showing more wear and tear than the others. One time, I made a little “shower cap” type of cover for it, and it’s ugly as sin. So when I came across this ottoman slipcover tutorial from Sew4Home, I fell in love.
The nice thing about the tutorial is that it shows you how to make it to your own measurements, since chances are, we all have different sized ottomans. Mine is more rounded, which I didn’t consider ideal for this project, but I still think it worked out well. A great thing about slipcovers is that you can pick up a mismatched piece of furniture just about anywhere (yard sale, thrift store, new) and make it work with your decor. In the entries to our recent gift certificate giveaway, some of you said you’d like to learn how to make slipcovers. This is not a couch or a chair, but it’s one piece of your living room furniture to get you started! |
Supplies
(Click fabrics for direct links for purchase at Warehouse Fabrics Inc.)
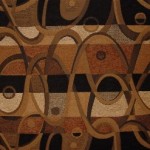
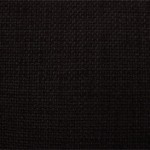
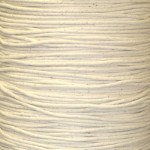
| I used 2 yards of the Citi Scene fabric and 2.5 yards of the black. I also used 6.5 yards of the cotton cording for the piping (we have a tutorial for making your own piping here). | |||
The pattern
| Please see the tutorial at Sew4Home for descriptions on how to measure your ottoman and figure out your pattern pieces. Take note of your contrast band fabric and consider whether it needs special cutting to match up nicely.
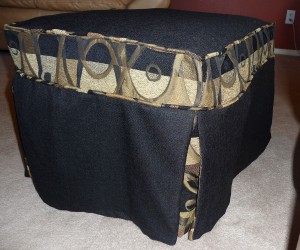
For my particular ottoman, I used the following measurements: Top panel: 27-3/4″x19-3/4″ (cut 1) (black) Side panels: 27-3/4″x5″ (cut 2) (contrast) End panels: 19-3/4″x5″ (cut 2) (contrast) Side skirts: 15-1/2″x27-3/4″ (cut 2) (black) End skirts: 15-1/2″x19-3/4″ (cut 2) (black) Pleat panels: 13″x15″ (cut 4) (contrast) |
|||
The project
| The two main problems I ran into were:
1. I have a more “rounded” ottoman than the type this pattern was designed for, but I still felt that it does the job. It keeps the ottoman clean and protected, and it looks pretty spiffy, too. That explains, though, why the ottoman slipcover has a looser fit in some places. 2. Due to the heavy nature of the fabric, the pleats really popped open. I had to stitch the insides of the pleats closed to help control that. 3. I took care to cut the printed fabric so that the patterns lined up all the way around the ottoman, which makes it more aesthetically pleasing. Overall, I was pleased with the project. It created something attractive and functional. The fabric feels substantive, like it will hold up well to regular use. It’s certainly a million times better than my earlier “shower cap” solution! |

