Jacket lining and interlining
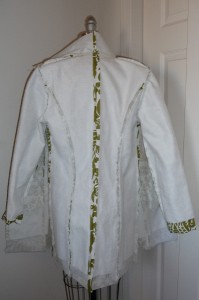
| Last week, I did a post on a funky green jacket. This week, we’re going to look at the inside of the jacket. What you see from the inside is the lining. What you don’t see is the interlining, or the batting I added for extra warmth. The jacket pattern (McCalls 5060) included lining but not interlining, and so I wanted to discuss how to add that, and also what the difference is between interlining and lining. It’s very easy! This week, I also have a post on making your own covered buttons, related to this jacket. |
Supplies
Tips on interlining
First, I’d like to talk about the difference between interlining and regular lining. The lining is the satiny fabric on the inside of the jacket. It’s fully visible when the jacket is open. Interlining is a layer of some sort of material that adds warmth. It’s hidden inside the jacket. This material can range from synthetics created for adding warmth to natural materials like cotton.
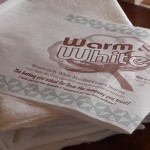
A few types of man-made interlining that can be used for warmth are Primaloft and Thinsulate. I haven’t seen either of these products at nearby stores, so tracking it down may take some Internet sleuthing. They seem to run from $8.95 to $16.95 a yard. What I went with was a thin cotton batting. I bought Warm and White on the huge roll at about $9.99 a yard. But the width was huge and it was double fold, so it wasn’t a bad deal.
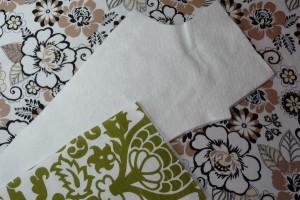
| If you want to add extra warmth to a jacket, you can add interlining, even if your pattern doesn’t discuss it. All you do is take the material of your choice (I used Warm and White thin cotton batting on the roll) and cut out the outer jacket pattern pieces.Then apply the batting to the jacket pieces by either basting, or if you’re lazy like me, spraying lightly with quilt basting spray. I did this outside on newspaper. I learned the hard way after getting it on my floor once. It does not come off very easily. Also — and I know you’re not an idiot, but I seriously have done this a few times — make sure the spray nozzle is facing the right way, as in away from you and not toward your hand. You’ll wash and wash and never get that sticky off. Yes, I’ve also done it with spray paint. |
|
| See! This is much thicker than just a plain piece of fabric, so it’s bound to be more warm. I mean, maybe if you live in Minnesota, this jacket will just not do in the winter. But I live in New Mexico, and I could quite possibly wear this if I have a scarf and gloves. However, I am the world’s biggest cold sissy, so I may wait till March. |
|
| Sew your outer jacket pieces together according to the pattern instructions, but trim as much of the interlining out of the seams as possible to reduce bulk. |
|
| Press your seams open. |
|
| I find that the bulk of the interlining takes the crispness from the sleeve and jacket hems, so I trimmed a fair amount away from the bottom. It’s not very even here, but it doesn’t matter. I actually had to trim more once I got around to doing the hem and knew how much I was turning the edge up. |
|
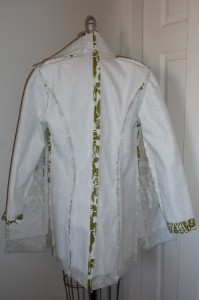
| Here’s a picture of the interlined outer jacket, turned inside-out. |
Tips on attaching jacket linings
(sleeve hems were addressed in last week’s post)
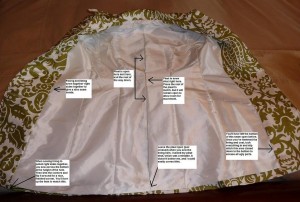
| In this photo, you’re looking at the lining. I have included a diagram with more information about how the jacket was put together, so please click the photo to see it bigger. |
|
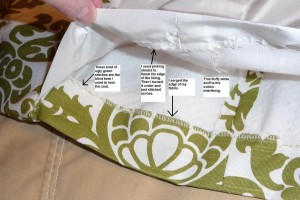
| This diagram has a little more information about the hems. Please click the photo for a bigger view. How do you get a nice, finished front corner? How do you get everything attached so that it’s finished looking?
I realized upon trying to explain this in writing that it was too confusing and that I needed photos. So I used scraps to re-create this corner of the jacket, and that’s what you’re viewing below. So you won’t be seeing any interfacing or interlining in these photos. Please email me if you ever have questions. Contact information is at the top right of the blog.
|
|
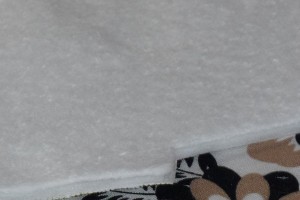
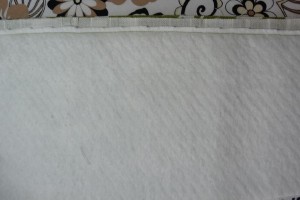
| Note that although the inside of the jacket is the white lining material, the outer edge of the inside (the facing) is the green fabric.I finished the lining with pinking shears and then just folded it up the required amount and sewed a seam straight across. For the hem of the outer jacket, I finished the bottom with the serger (not shown). When you sew the inside jacket facing to the inside jacket lining, you’ll leave a few inches at the bottom open. |
|
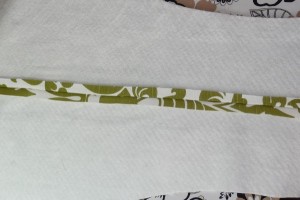
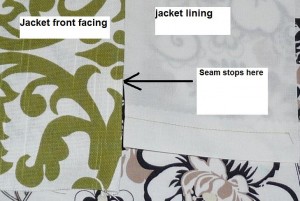
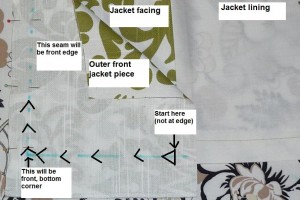
| When it’s time to attach the lining to the outer jacket, you place them together right sides together and sew up one side, across the collar and down the other side. The bottom is left open, so you can turn the whole thing right-side out through there.While you’re sewing the lining to the jacket, you’ll also sew across the distance of that facing a few inches from the edge (the height of your final hem). | |
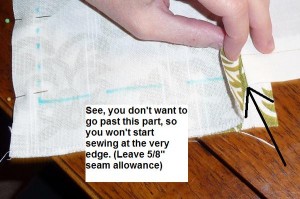
| Start sewing at whatever your seam allowance is, otherwise you’ll be sorry later. The blue lines indicate my sewing lines. |
|
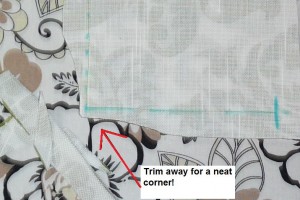
| Get rid of all that bulk so you’ll have a nice, pointy corner. Turn it right-side out now. |
|
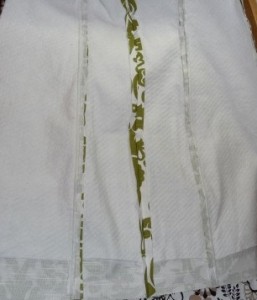
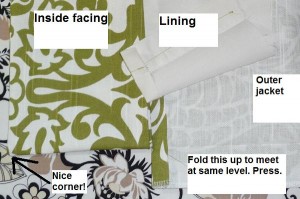
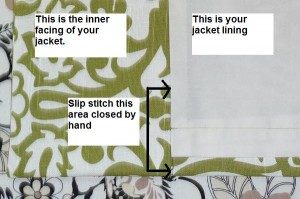
| At this point, your jacket hem is still unfinished. Push the facing out of the way and finish your hem. I used a blind-hem stitch, because this seemed the least obvious. | |
| The pieces should line up nicely now. Once everything is pretty, go ahead and slip stitch the bottom of the facing to the bottom of the lining fabric. Other than this point on either side, I chose to leave my lining fabric hanging freely because I’ve had problems in the past with my lining hems pulling the hang of my jacket out of whack when I have stitched it to the jacket. |

