Hanging phone charger
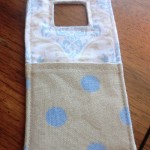
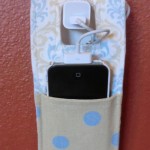
 This is a handy little charger caddy for your phone or iPod. It allows you to plug in your device and hang it in a little bag from the outlet. I’ll share my pattern for an iPhone 4, but I’ll also provide instructions so you can make a custom one for your device.
Supplies


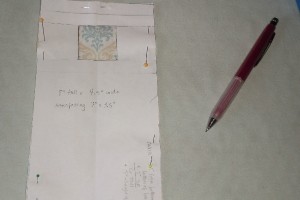
The Pattern
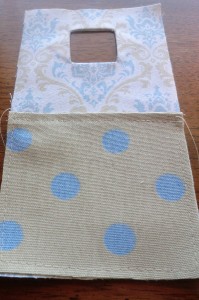
Pocket piece = a square measuring 4.5″x 4.5″.
Cut 2 of the Main piece and 2 of the Pocket piece. Cut 2 of the main piece out of heavy interfacing, like Craft Fuse. Trim about 1/2″ around from the edges of the interfacing to reduce bulk in the seams.
The Process
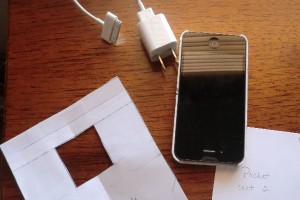
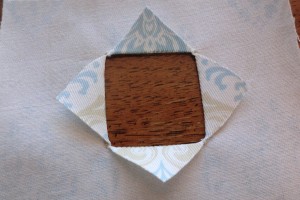
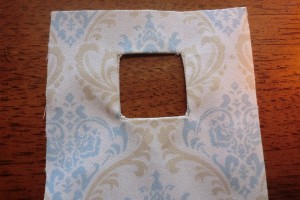
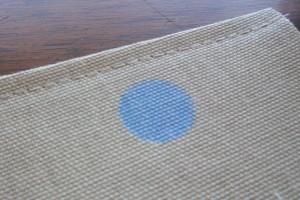
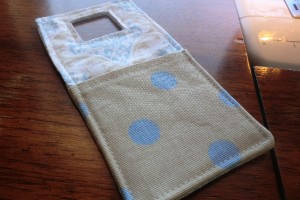
In this photo, you can see what my charger looks like. I wanted to leave enough room for the outlet plug, which for my phone is square, and the part that plugs into the phone itself. So on the pattern provided, please make sure that square will fit your plug. If your plug is shaped differently, you can simply draw a different square or rectangle to fit yours. You don’t have to worry about any seam allowances when it comes to that hole. I made mine 1.5″x1.5″ and my plug was about 1″X1″.
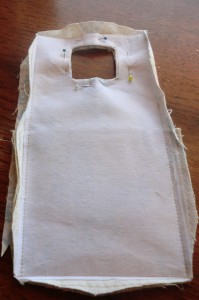
Cut out 2 pieces from the main pattern piece. Use some sort of fabric marking tool to trace the outline of the cutout on the fabric.
If you click the photo, you can probably see the outline of the square better.
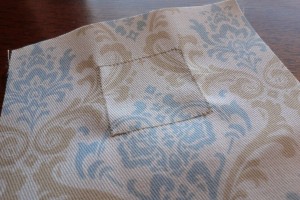
Set your machine to a small stitch length and carefully stitch on the lines you drew. I backstitched at the corners to secure it well.
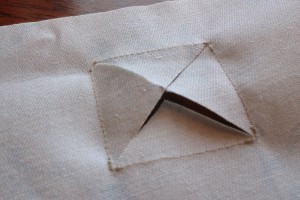
Very carefully cut the inside of the square as shown, getting as close to the stitching at the corners as possible without clipping any stitches.
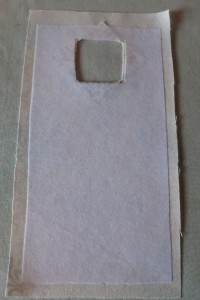
Press the inside of the square to the wrong side of the fabric, trying to form as nice of a square as possible.
This is a view from the front. I tried to tidy up the corners and also added Fray-Check to them.
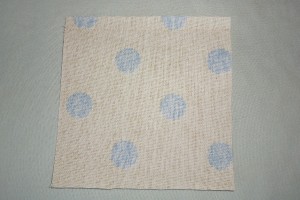
Apply the interfacing to the main fabric pieces.
Make your pocket by placing the pieces right-sides together and stitching along the top.
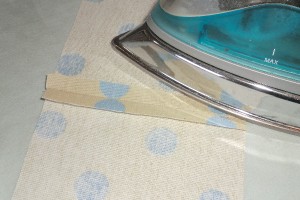
Press seam open.
Top stitch along the top edge. Sides and bottom are raw edges.
Place your pocket on one of your main pieces, aligning the bottoms. Baste in place along sides and bottom.
Place your other main piece right-sides together on the one with the pocket and sew all the way around, but leave a few inches open for turning. I left open a space on the side above the pocket. Then I trimmed the bulk from the corners and pressed the seams open a bit.
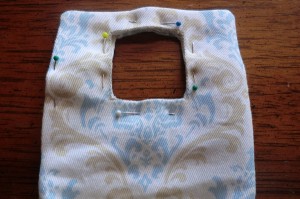
Turn right-side out through the hole and then press, pressing the seam allowance at the hole in. Pin that hole shut (the pin at the left side of my photo). Then line up and pin the hole in the center. If your interfacing is showing a bit, just trim it more.
Stitch around the hole and around the outer edge of the caddy.
Other Views