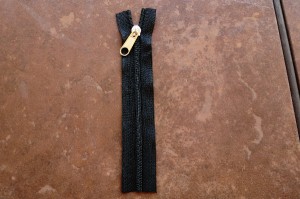
Continuous zipper tape

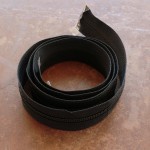
Continuous zipper tape gives you control over your project in ways you might not have thought about before. You buy it by the yard and purchase zipper pulls and stops separately. Then you just cut off the length you need, install the pull and you’re ready for use. 

I always thought installing the pull would be complicated, but it was really easy. Check it out!

Supplies

The zipper tape and pulls I found at Joann. They seemed cheaper than ordering online, but there was only one type of each to choose from. 

There are also zipper stops out there in the world, but I didn’t cover those here. Depending on what you’re making, you can probably make do without. Here is one place I saw the stops.

I hunted on the web for instructions, since I’d never done this before. I found a few different ways, but I thought this one seemed the easiest.

The process

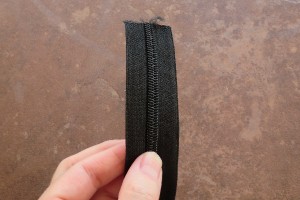
Take your piece of zipper tape. The cut edge will fray, so you might want to gently burn it with a flame after you are done. Don’t do it yet. 

I am working with a tiny piece just for example purposes. You can have your zipper be as long as you want, since it’s sold by the yard.

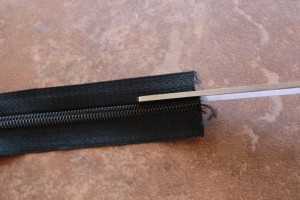
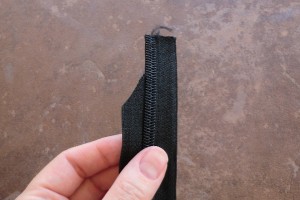
Cut about one inch down along the left side of the zipper tape (the bump side of the zipper is facing us here and the flat side is down).
Snip off that whole chunk of the tape, but leave the teeth.
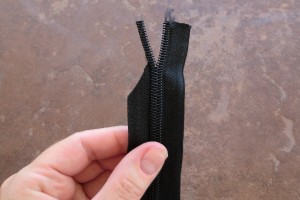
Separate the zipper teeth.
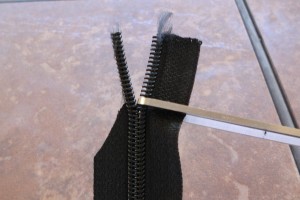
Cut the whole top inch or so of the right side off, including zipper teeth.
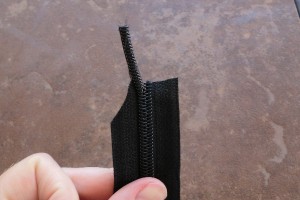
You are left with this.
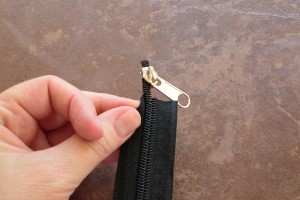
Thread your remaining left-side teeth through the zipper pull.
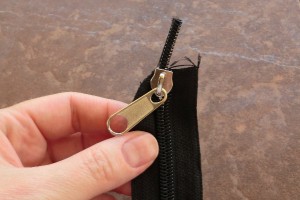
Work the right side on.
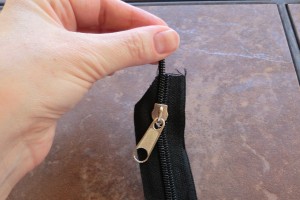
Hold onto your little tail up there and pull the zipper pull down onto the zipper teeth.
Pull it all the way to the bottom, which will now be your top.
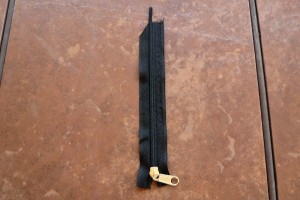
Turn it around so the pull is at the top and lop off the uneven part. now you can melt the ends of the zipper tape to prevent fraying and add zipper stops on top and bottom, if desired.
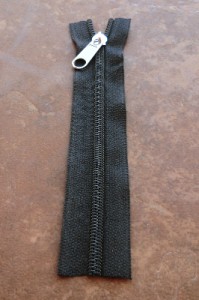
Ta-da! This is ready to install in a purse or cushion or whatever you are working on!