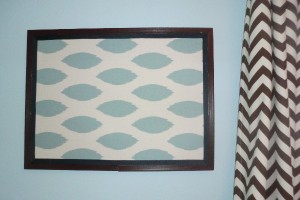
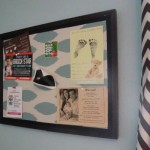
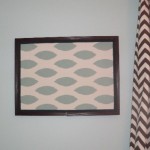
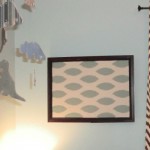
Repurpose an old, beat-up cork board into something cute and fun. It’s really easy to do and requires no sewing.
Supplies
(Click fabrics for direct links for purchase at Warehouse Fabrics Inc.)
Bulletin board
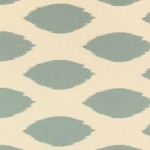
Chipper Village Blue / Natural
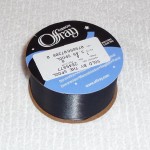
Ribbon
You’ll need enough fabric to cover the surface of your cork board, and enough ribbon to go around the outer edge, just inside of the frame. You’ll also need hot glue. I also used quilt spray adhesive and another kind of glue, but if nothing else, have access to at least hot glue.
The process
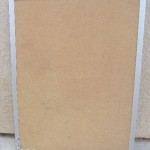
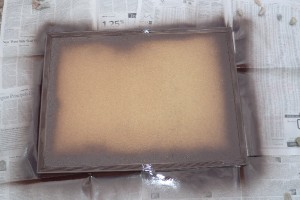
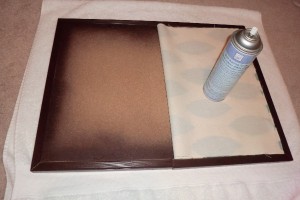
I got this ugly, old cork board at a thrift store for $2.99. I didn’t notice at first that the frame was a little bent at the bottom, but what do you expect for $2.99? It’s an ugly metal frame that would fit best in a classroom.
I spray-painted the frame brown. I didn’t worry about protecting the cork part in my case. I have no idea what that white stuff is in the photo. It wasn’t there in real life. Very strange!
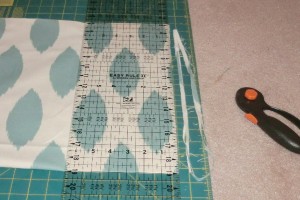
Cut a piece of fabric exactly the size of your cork, inside of the frame. NOTE: My frame didn’t come off, so I had to glue my fabric on. You might have a frame that detaches, in which case you could simply secure the fabric around the cork part and then put it back in the frame. That’s even easier than how I do it in this project! I used a rotary mat and cutter to get a perfect edge. In this photo, I folded my fabric and trimmed off the uneven edge. You can always use scissors and a ruler.
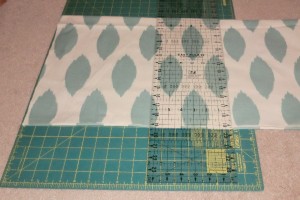
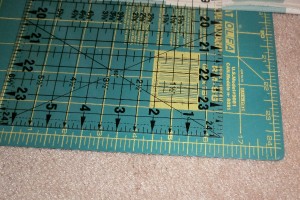
I lined up the clean edge on the left of the mat at the zero mark. Then I lined up the ruler at my cutting point, which was 17.5″. I lined it up at both the top and bottom of the mat (see next photo).
This is a close up. You can see that I have lined up my ruler at 17.5″ on both the top and the bottom. Then I used the rotary cutter along the edge of the ruler.
I then laid my fabric on the cork board and used quilt spray adhesive to secure it lightly to the board.
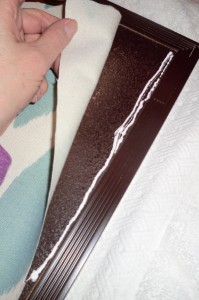
Then I used some other kind of glue in my cabinet to secure the edges a little better.
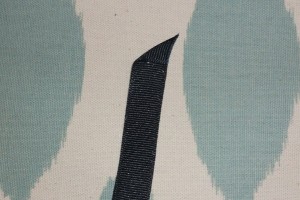
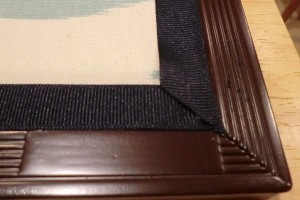
Next, I cut ribbon strips the exact length of each side from frame edge to frame edge. Then I folded over the corners to create the look of mitered corners. I used hot glue to secure this. And burned my fingers a lot, so be careful!
I then glued down the ribbon along the raw edges of the fabric, creating a look of mitered corners, which looks better than raw, overlapped edges.
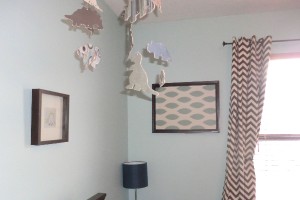
I love the Premier Prints line. Can you tell? I made these chevron curtains from it. And though you can’t see the rest of my son’s room here, you can see it in this post about his nursery.