Bias tape maker
 |
Bias tape can be purchased fairly inexpensively, but sometimes you’re in a bind and you need some right away. It’s really easy to make using an inexpensive little doodad and some strips of fabric. It can be as basic as grabbing some solid colored cotton, or sometimes you’re looking for something you couldn’t get in the store that is made out of your project fabric. I recommend cutting some extra strips next time you’re cutting strips of fabric for a project. Then you can have some go-to strips handy for making bias tape or piping on a whim. See the tutorial on piping here. |
Supplies
(Click fabrics for direct links for purchase at Warehouse Fabrics Inc.)
|
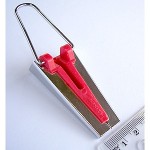
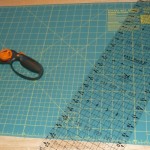
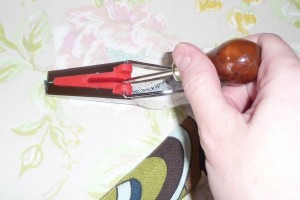
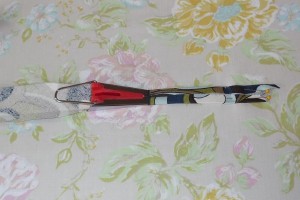
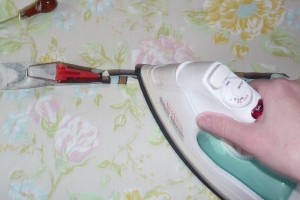
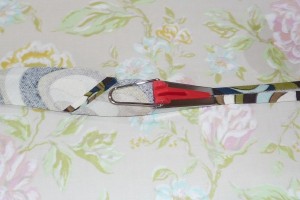
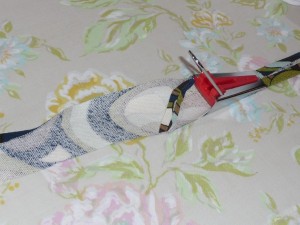
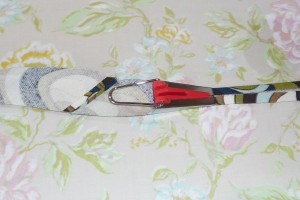
If you’re looking for information on how to cut and join bias strips, please see the tutorial for the baby quilt binding here – but not until you read this section. The difference will be in the width of strips you cut. There are different doodads (this is the code word I will use for the “bias strip maker”) that create different sizes of bias tape. Mine makes a 3/4″ wide finished tape, but since the two raw edges of the strip are folded to meet in the center, I need to cut my fabric strips twice that width, or 1-1/2″ wide. You may need to adjust according to the doodad you bought. Also regarding the tutorial I linked to above: I used bias-cut strips for the baby quilt and for this demonstration. It’s not absolutely necessary. You can use strips cut along the grain of the fabric (bias cut means they were cut at a 45 degree angle to the grain), but they won’t be able to hug any curves as easily. It depends on the project. In the photos for this tutorial, I’m using a heavier, home decor weight fabric. It worked just fine, and so does nice, lightweight quilters cotton, which is used in the video demonstration. I am still getting the hang of making videos. It’s a little bit blurry, but it gets the job done! Bear with me. |
|||


